
If surfing is an art, then waxing your surfboard is the preparation that makes the art possible. Waxing isn’t just about stickiness — it’s about traction, performance, and safety. A perfectly waxed board lets you pop up with confidence, carve smoothly, and stay connected to every wave.
Unfortunately, many surfers — especially beginners — either over-wax, under-wax, or use the wrong wax altogether. The result? Slips, wasted time, and ruined sessions. Don’t worry — this guide will take you through every step of waxing your surfboard like a pro.
Step 1: Clean Your Surfboard
Before applying new wax, you need a clean surface. Old wax builds up over time, trapping dirt, sand, and salt, which ruins grip.
How to Clean:
- Place your surfboard in the sun for 5–10 minutes (softens wax).
- Use a wax comb, scraper, or even a credit card to peel off wax.
- For stubborn spots, apply a bit of coconut oil or eco-friendly wax remover.
- Wipe down with a cloth.
Pro Tip: Avoid chemical cleaners — they’re harmful to your board and the ocean.
Step 2: Apply the Basecoat
Think of the basecoat as the foundation of a house. Without it, the topcoat won’t last.
- Use harder wax (basecoat wax) designed to resist melting.
- Apply with firm pressure, making small circular or cross-hatch strokes.
- The goal is to create bumps or ridges on your board. These hold the softer topcoat in place.
Where to Apply:
- Entire standing area (front foot to back foot).
- Don’t wax the nose unless you’re nose-riding on a longboard.
- Avoid waxing rails (edges), as it can cause sticky handling.
Step 3: Add the Topcoat
Once the basecoat is ready, it’s time for the softer, tackier wax.
- Rub lightly on top of your basecoat bumps.
- The wax will fill in the ridges, creating a grippy texture.
- Use the correct topcoat for your water temperature (Cold, Cool, Warm, or Tropical).
Without the topcoat, your feet won’t have that sticky grip, and you’ll slide easily.
Step 4: Create Patterns for Extra Grip
Many surfers use different wax patterns to improve grip and style.
- Diamond Pattern: Crisscross lines forming diamonds. Durable and pro-looking.
- Circle Pattern: Small circular rubs. Easy for beginners.
- Checkerboard Pattern: Alternating squares for maximum stick.
Patterns not only add traction but also reduce the amount of wax you need, saving money and effort.
Step 5: Touch-Ups Before and During Surf
Wax wears down over time. A good surfer always carries a piece of wax for quick touch-ups.
- Before paddling out, reapply lightly to freshen grip.
- During long sessions, rub extra wax where your feet land most.
- Use your wax comb to roughen up flat areas.
Always keep a small bar of wax in your surf bag or wetsuit pocket.
Step 6: Storage and Maintenance
Wax care doesn’t end in the water. Proper storage keeps your wax effective.
- Keep your board out of direct sunlight when not in use (melting risk).
- Store wax in a cool, dry box — avoid car dashboards or hot sand.
- Don’t mix different types of wax on the same board unless using a basecoat-topcoat combo.
Common Waxing Mistakes
Even seasoned surfers mess up sometimes. Here are the top mistakes to avoid:
- Using the wrong temperature wax → Slippery or melting.
- Skipping the basecoat → Grip fades within minutes.
- Over-waxing → Heavy layers slow down your board.
- Waxing sandy boards → Sand reduces tackiness.
- Using petroleum-based wax → Harmful to reefs and your health.
Eco-Friendly Waxing: Ride Clean, Surf Green
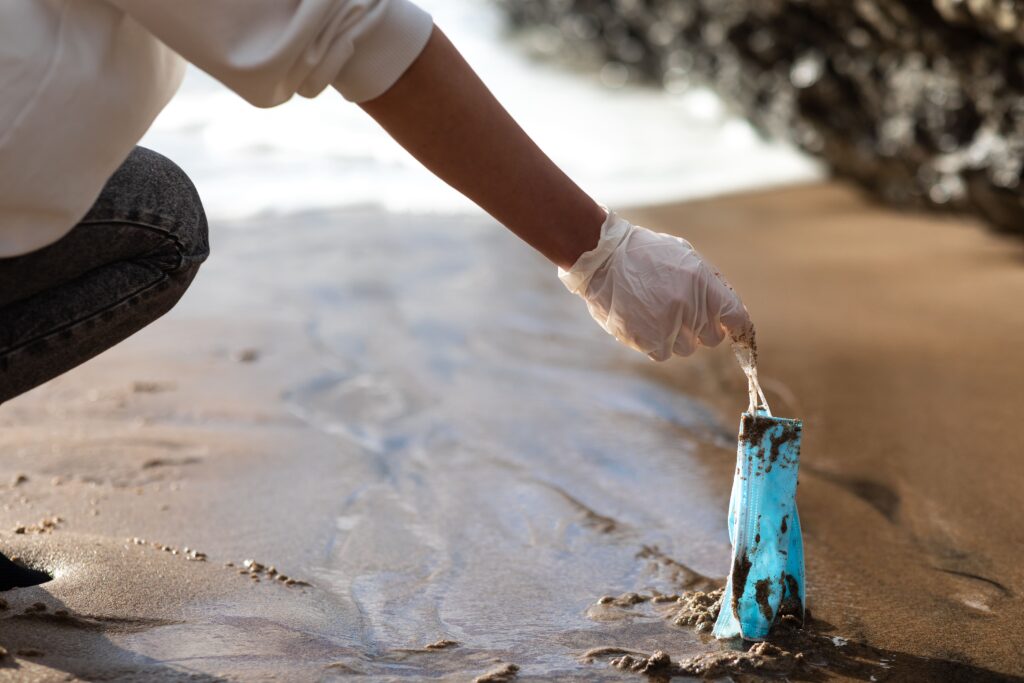
Traditional surf wax often contains paraffin (a petroleum byproduct), synthetic fragrances, and microplastics — all of which pollute oceans. Switching to sustainable surf wax is the best way to protect marine life while keeping your grip strong.
Eco Alternatives:
- Beeswax or candelilla (vegan)
- Coconut oil & soy wax
- Pine resin (non-toxic)
- Natural fragrances like citrus or coconut
Bonus: Plastic-free packaging makes disposal ocean-friendly too.